Bluestacks Review and Setup – Is It Perfect to Play Mobile Games on PC
Who doesn’t show interest in running Android apps and games when there is powerful software available, that too for free? Don’t you? If you have a PC running Windows 11 or older versions, turn it on and follow the instructions detailed in this guide to experience using Android apps and games without any difficulties.
Windows from Microsoft is the world’s most popular Operating System for PCs. If you’re using it, shift all your focus on the large screen to convert it into a virtual Android machine for using apps and playing games from the comfort of your home or anywhere beyond the limits simply with BlueStacks Emulator software – the choice of gamers worldwide.
BlueStacks Emulator is software that helps run Android apps and games on PCs running Windows or Linux. No matter the size and version, BlueStacks easily bear the loads by consuming 40 percent less RAM when compared to other Emulator software available on the market.
I personally found that it is powerful, robust in security, simple to use, user-friendly, and offers exclusive features all the way in and all the way out. As a user of Android, if you want to experience everything on the large screen, do as follows to know how to download and install BlueStacks on Windows 7, 8, 10, and 11.
Contents
What is BlueStacks?
BlueStacks is software that allows users to run Android apps and games on a computer machine having Windows, Linux, or Mac as OS.
It is powerful and easily handles the full load of the most resource-demanding mobile games without any performance issues. No matter the size and version.
The Emulator allows you to play any games with a set of smart controls that come built-in such as Shooting Mode, Multi-Instance, Macros, Eco Mode, Rerolling, and a lot more.
It is Freeware Licensed and safe to use. Even if your antivirus software stops it from installing, you can safely ignore it and proceed.
All in all, to Emulate Android on your PC, BlueStacks is a perfect match to experience the complete Android ecosystem for taking advantage of apps and games.
How to Install and Use BlueStacks on PC Windows 7, 8, 10, and 11?
BlueStacks for Windows is a Freeware licensed free-to-use software that virtualizes Android on Windows. To get it, all you need is an installer file. Let’s see where to download the file and how to install BlueStacks in PC.
Step 1: Get the BlueStacks Installer File
The foremost thing you’ve to do is to download the latest version of the BlueStacks Installer file from its official website. To get it, use the button below and redirect to the BlueStacks official website.
Once you’re in, download BlueStacks 5 – 64 bit/32bit to use apps and play games.
Note – BlueStacks 10 is also available on the website but it is a cloud version and best suits for gaming.
Step 2: Initiate the Installation Process
The installer file of BlueStacks you downloaded from its official website is a web installer. This means that it will download and install components from the installer package afterward.
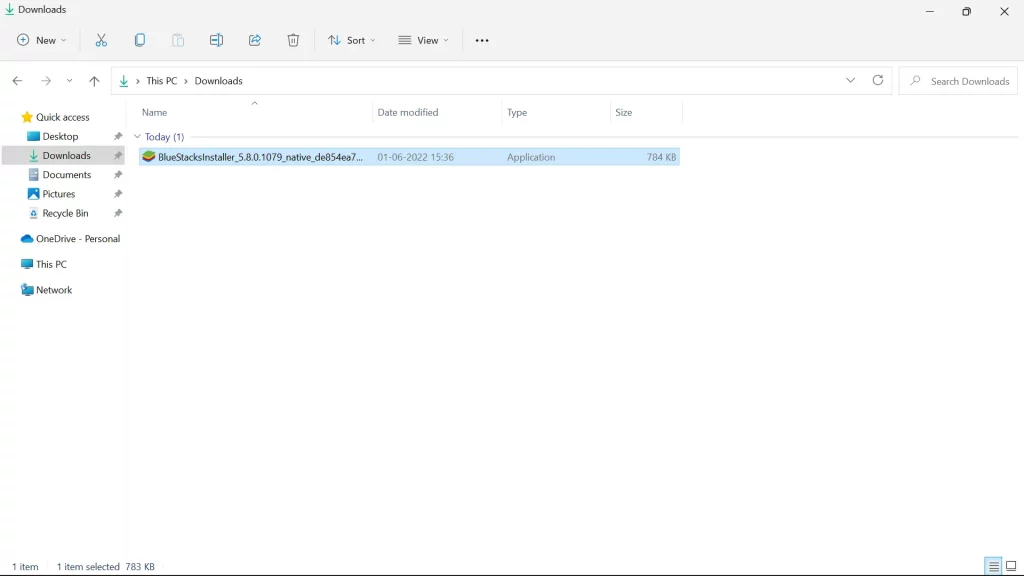
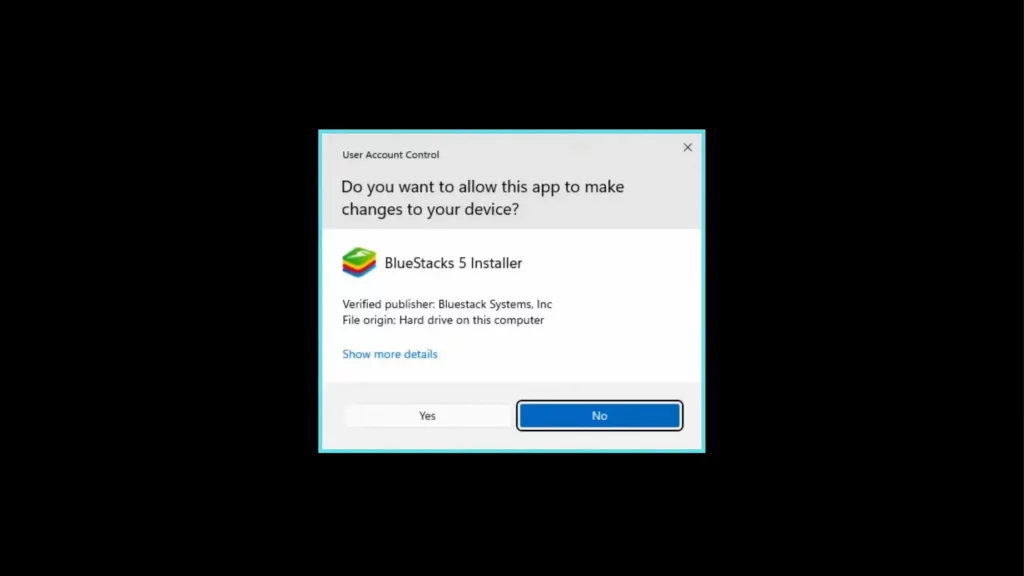
To initiate the installation, head over to Downloads and double-click on the installer file. Select Yes on the pop-up screen to allow the software for installation.
Step 3: Customize the Installation
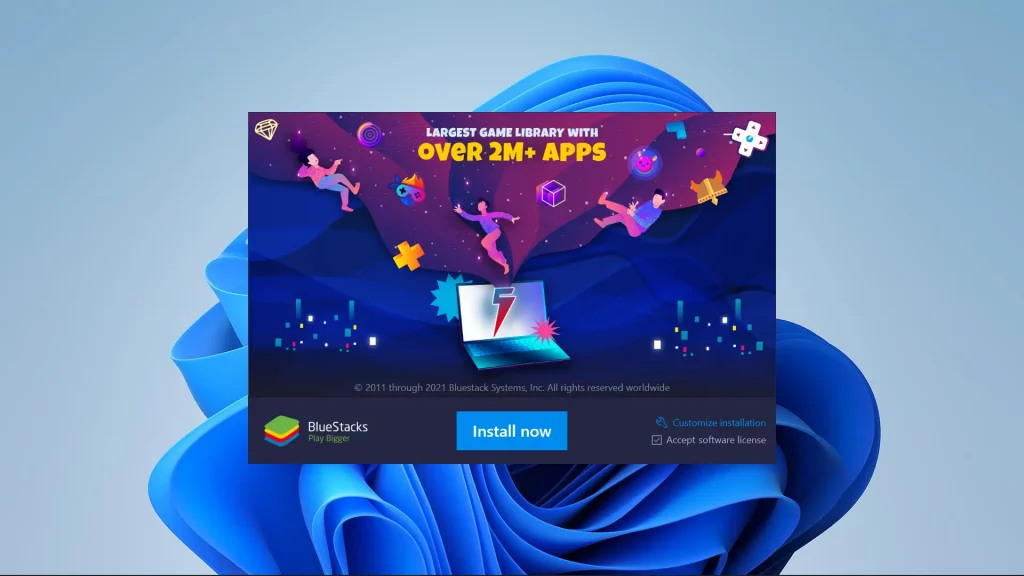
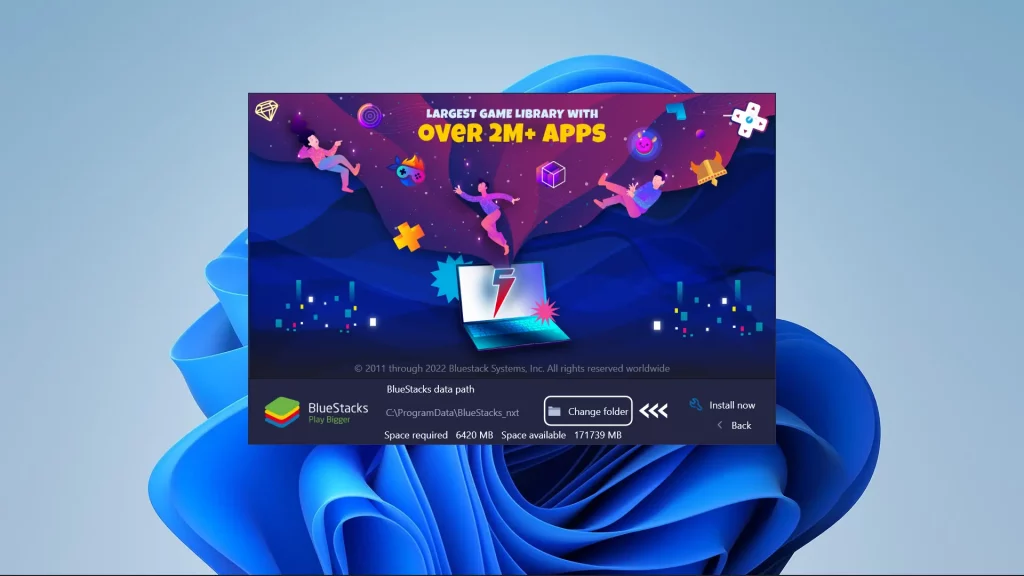
By default, BlueStacks will install in the C:/ drive. If you’d like to proceed with the directory, accept the software license and hit the ‘Install now’ button on the installer package window to commence the installation.
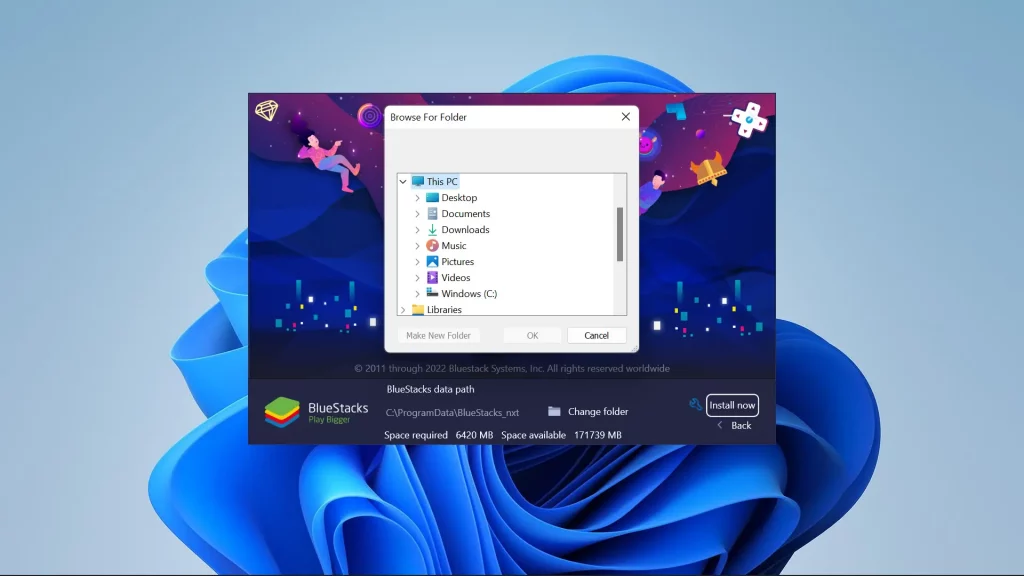
In case you’d like to change the directory, click on the ‘Customize installation’ option and choose ‘Change folder’ present in the bottom section of the window.
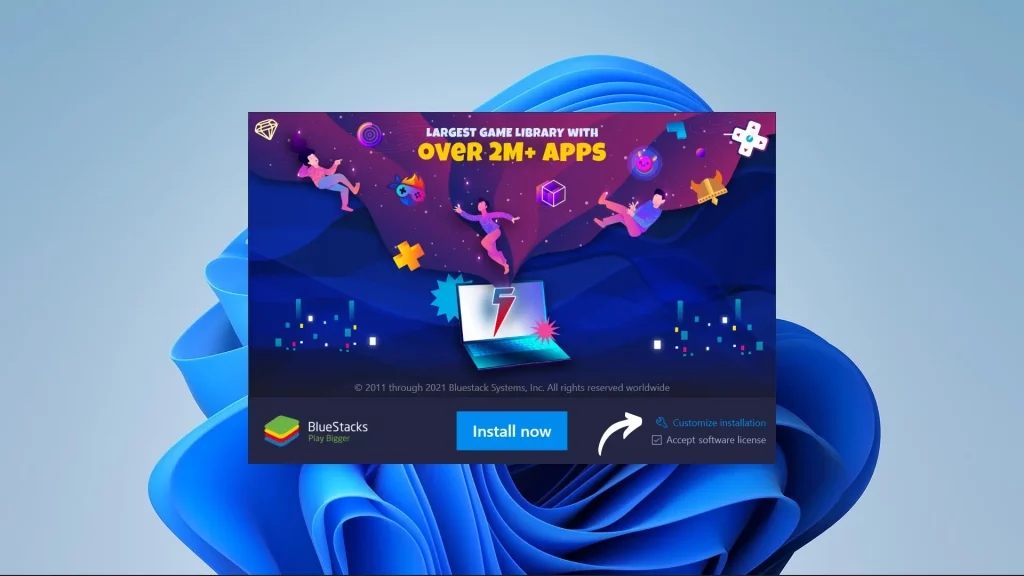
Look for the folder you wish to set as a directory and click on the ‘Install now’ button.
Note – This action can’t be undone after the installation. So, before proceeding, make sure you have enough space left to avoid potential issues in the future.
Step 4: Hold on for a Few Seconds
BlueStacks will now start downloading all the necessary files it requires and finish the post-installation steps automatically.
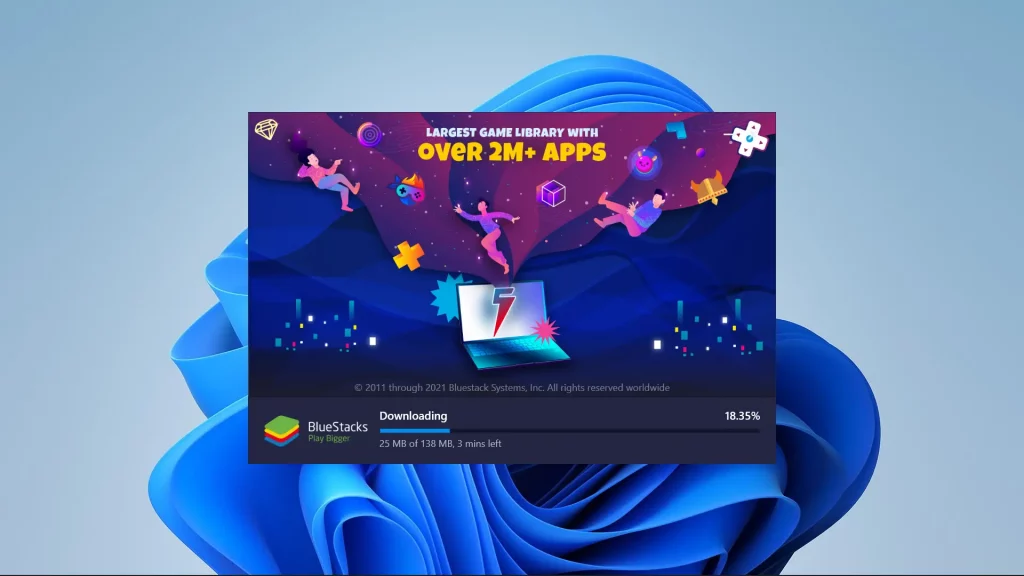
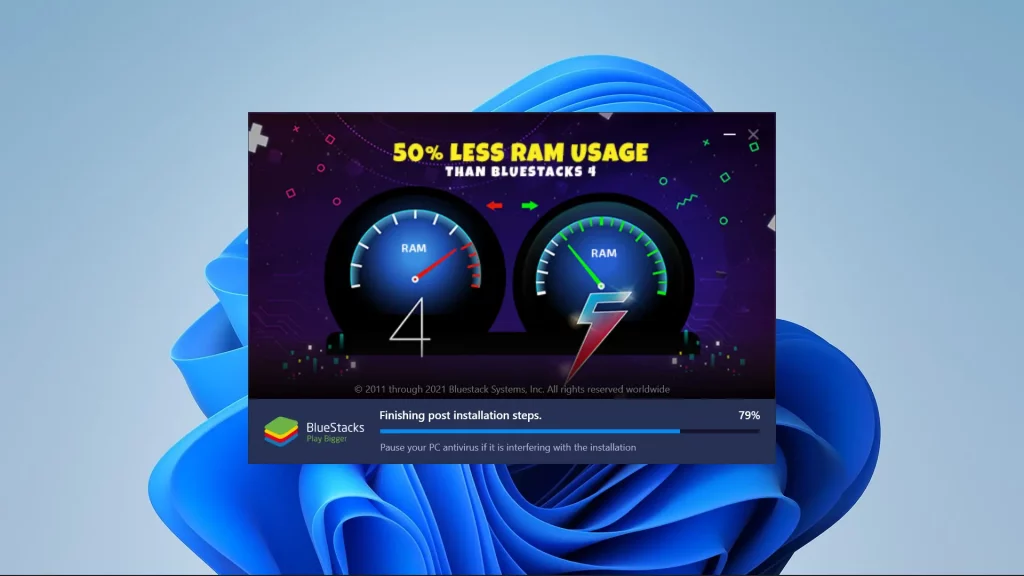
The time may vary according to your connection speed.
Step 5: Setup your Google Account
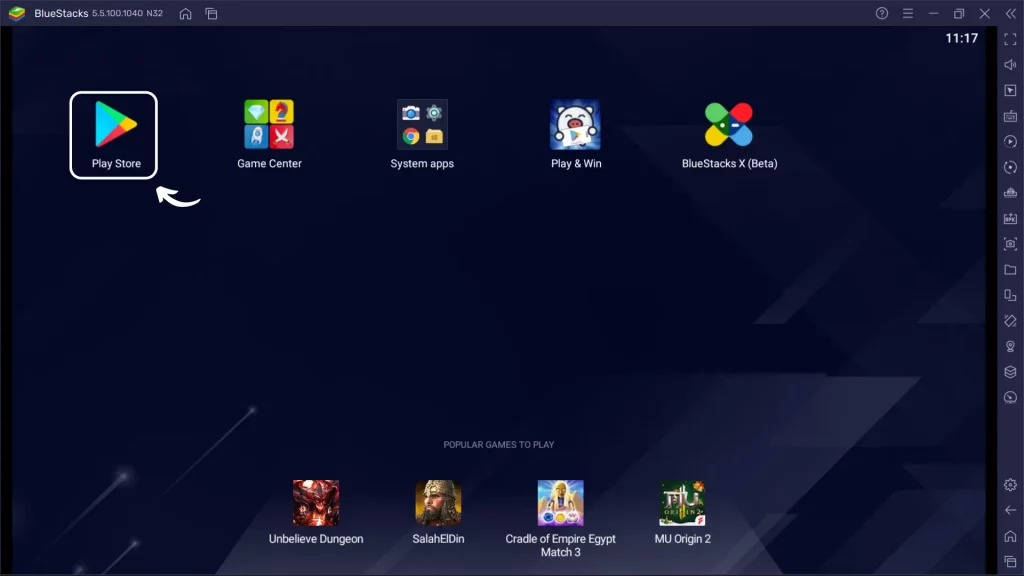
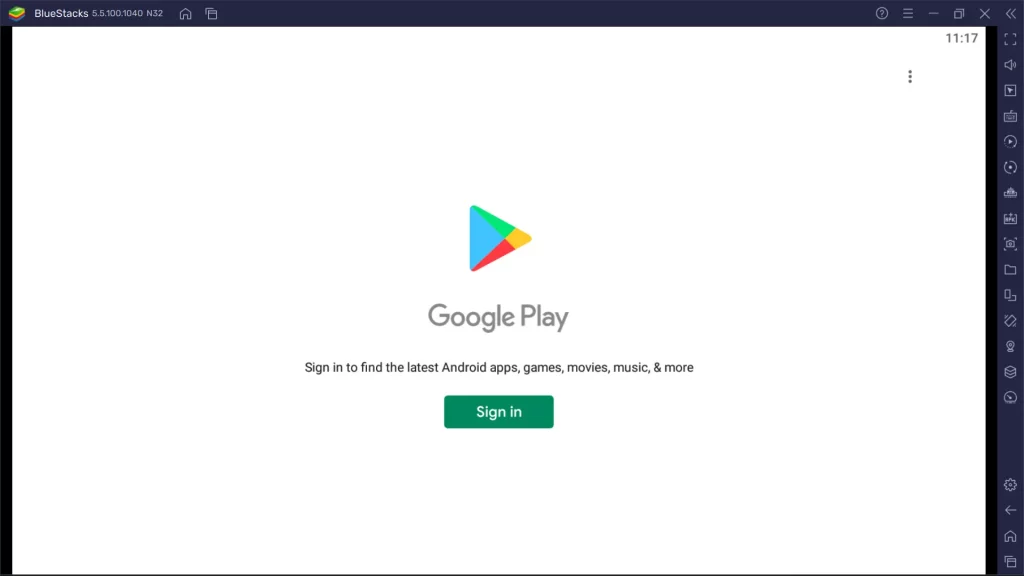
In order to download apps and games from the Play Store, you’ve to link your Google account. To do it, click on the Play Store icon to bring an overlay window to the screen and hit Sign in.
Provide your Google account credentials with which you wish to download apps and games from the Play Store.
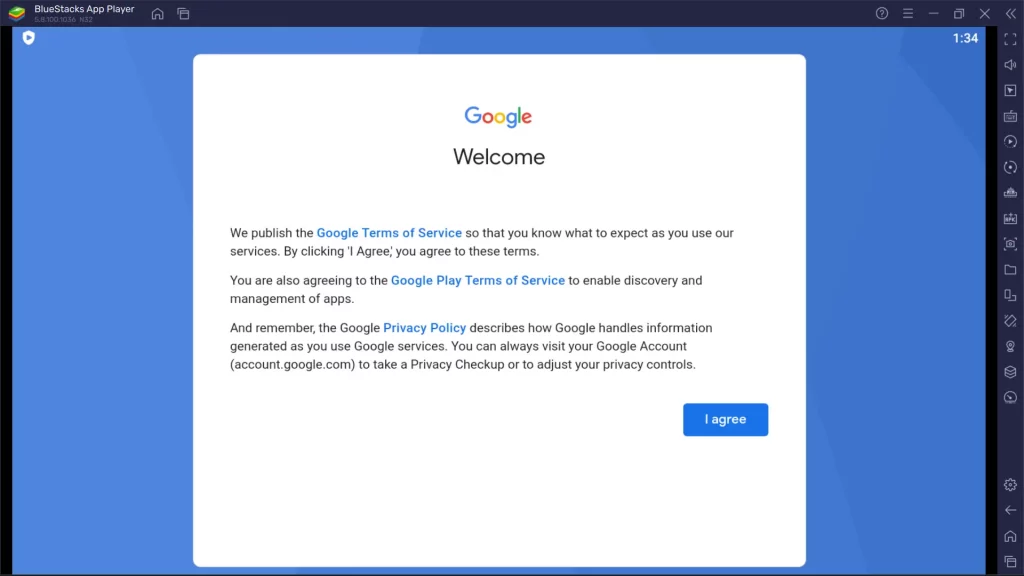
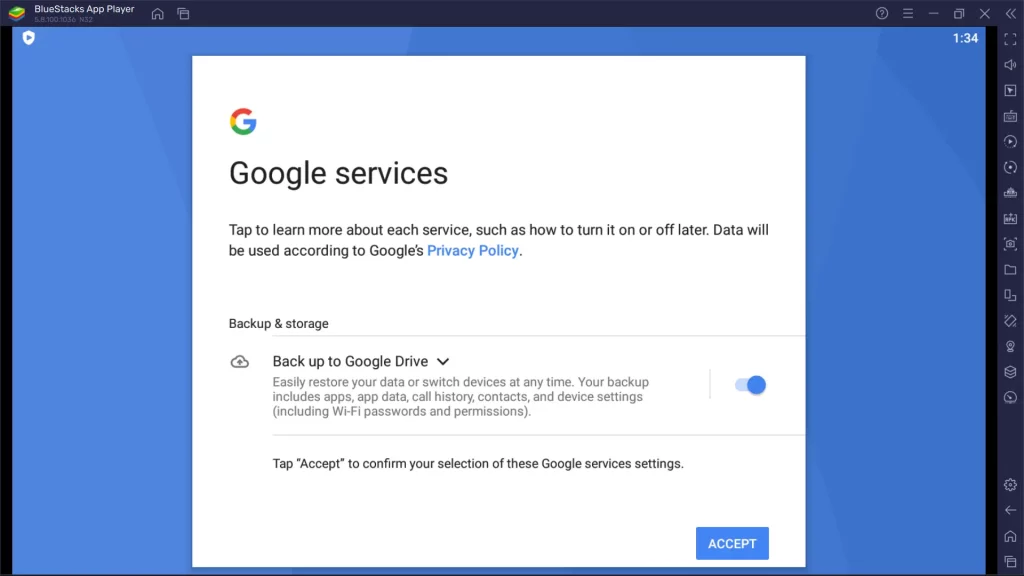
Lastly, agree to the Google Terms of Services and tap ‘Accept’ after enabling back up to Google Drive.
You’re all set. It’s time to download apps and games from the Play Store. So, move further and take a quick look to know how to install Android apps on BlueStacks.
Also Read: NoxPlayer – Review, Installation and Setup Guide
How to Install Android Apps on BlueStacks?
From the above post, we show you how to install BlueStacks on PC and set up the Google account. If you did it, follow the instructions given to know how to download apps on BlueStacks in three simple steps.
1. Open the Play Store and browse the apps either by category from the tabs present right below the search bar or use the search function to find the desired app.
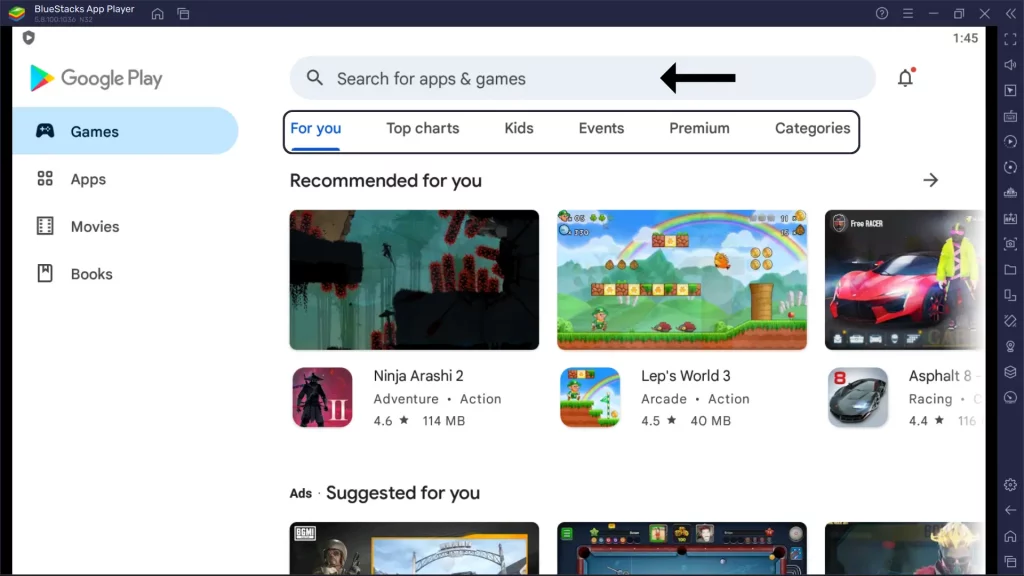
2. After locating the app, click on its tile to expand it. In the expanded view, you see the Install button. Click on it to start downloading the app.
3. It might take a few seconds for the download to finish, when done, click on the Open button and start using the app.
System Requirements for BlueStacks – Recommended
Who doesn’t excite to run Android apps and play games on the larger display? BlueStacks made what it promised and brought the best of the best features and smart controls to players who play games beyond their limits. But, nothing works great if your PC didn’t meet the requirements listed in the table.
| OS | Microsoft Windows 7 and above |
| RAM | 8 GB or higher |
| Storage | SSD or (Fusion/Hybrid Drives) with at least 5 GB of free disk space |
| Processor | Intel or AMD Multi-Core Processor with Single Thread benchmark score > 1000 |
| Graphics | Intel/Nvidia/ATI, Onboard or Discrete controller with benchmark score >= 750 |
PS: You must be an administrator on your PC and Virtualization should be enabled
Wrapping Up
Let your PC run both Windows and Android at a time that too without any hassles just by giving it a boost with BlueStacks Android Emulator. The powerful and robust App Player that is currently in existence.
Get it today right on your PC by carefully following the procedure detailed in this post on how to install BlueStacks in Windows 10, 11, 8, and 7, and start downloading apps and games from the Play Store.
If you find this post useful, do share your thoughts in the comment section below.

8 Responses
[…] What is BlueStacks? […]
[…] BlueStacks is one of the best App Players available in the market. It is lightweight and can easily handle apps and games of any size without slowing down the performance. Let’s see how to download BlueStacks to run the Whisper app for PC without any hassles. […]
[…] For BlueStacks installation how-to-guide and setup, click here. […]
[…] give users the best gaming experience on a PC, BlueStacks is loaded with lots of remarkable features such as Multi-Instances, Eco-Mode for optimizing PC, […]
[…] One of the most popular App Players in the market with compatibility for almost 95% of the apps available in the Play Store. BlueStacks is very lightweight and easily handles any of the apps without consuming a high amount of RAM. Therefore, if you’d like to use Adda247 PC app on your PC/Laptop, follow the steps mentioned below to download Adda247 for PC via BlueStacks. […]
[…] Also Read: Bluestacks Review and Setup – Play Mobile Games on PC […]
[…] Suggested read: Bluestacks Review and Setup – Is It Perfect to Play Mobile Games on PC […]
[…] Suggested Read: Perfect Emulator Software to use Android apps and games on PC […]